- Home
- Information
- Product Info
Product Info
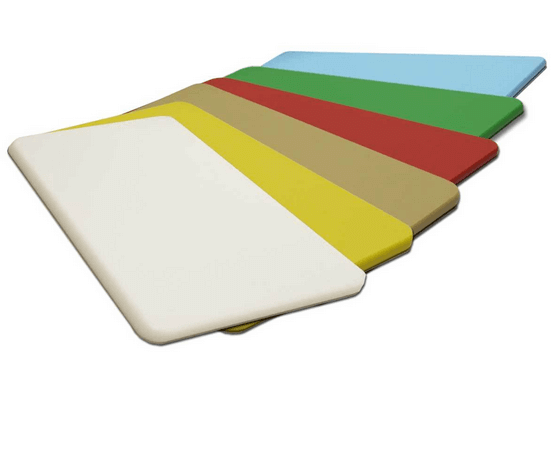 HDPE (Hiqh Quality Plastic) Cutting Boards
Our Cutting Boards are made of Super High Density Polyethylene Plastic. The plastic cutting boards are Commercial Dishwasher Safe, including a spike temp that exceeds 185°. The cutting boards are stain resistant, warp resistant, non-absorbent and resistant to bending, chipping and cracking. They are the most dense boards you can buy that will not dull your knives. They are approved by the USDA, FDA, and the Canada Dept. of Agriculture.
Why should you use COLOR-CODED Cutting Boards
- H.A.C.C.P. Compliant and recommended
- USDA Approved
- Helps eliminate Cross Contamination
- Our boards are warp resistant, they will not chip or crack
- Commercial Dishwasher Safe
- Stain Resistant
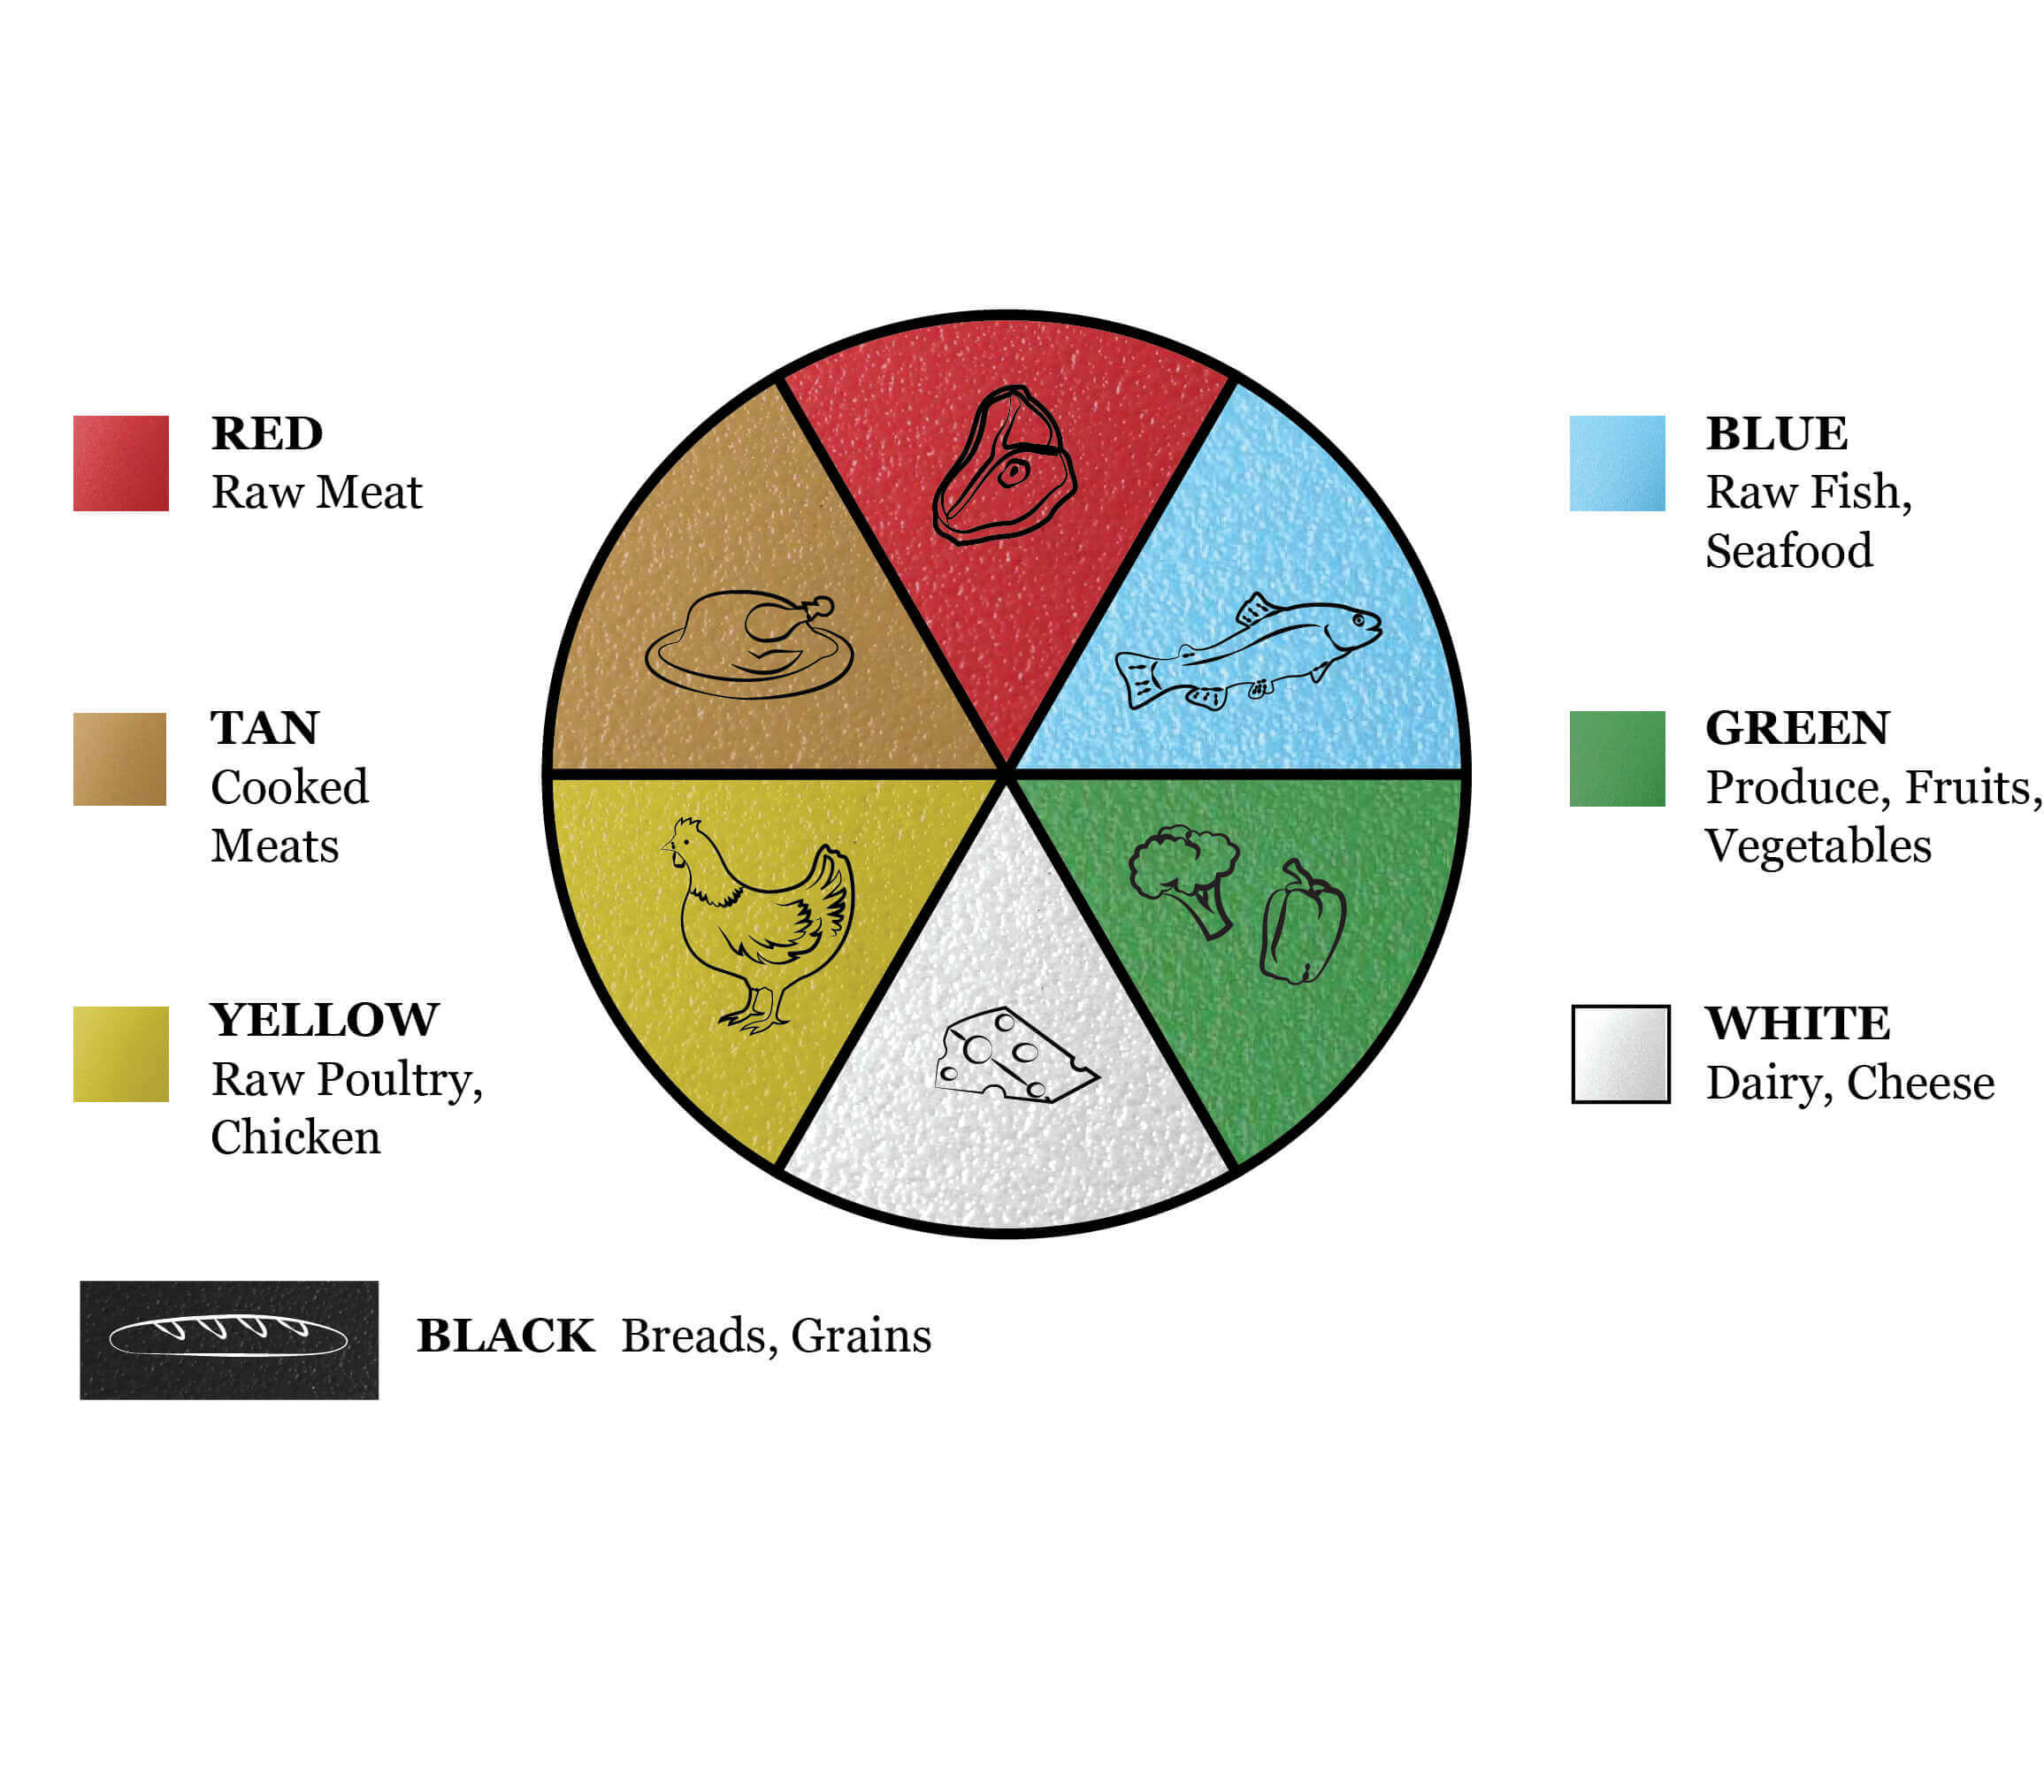
- Six colors for main food groups
- Custom Cut Color boards are our specialty
- Wholesale/Special Manufacturing needs, Click Here
Who this shows you are concerned about food preparation
- Employees
- Customers
- Health inspectors
Ways to Avoid Cross-Conamination in your Kitchen
- Use a nonporous surface(such as HDPE Plastic) for cutting poultry and raw meat
- Use a green cutting board for fresh produce and bread
- Use a red cutting board for raw meat, a yellow cutting board for poultry, and a blue cutting board for seafood
- Use a tan cutting board for cooked foods
- Use a white cutting board for dairy products
- This will help to prevent bacteria on a cutting board that is used for raw meat, poultry or seafood from contaminating a food that does not require cooking(like salad)
- See the color chart above for more details
Cleaning Your HDPE Cutting Board
- Place all cutting boards in the dishwasher immediately after use
- If you do not have access to a dishwasher your poly cutting board can be washed with hot soapy water
- After Rinsing, allow cutting boards to air dry in an open area or pat dry with clean paper towels.
- Extra-dirty cutting boards can be sanitized with a solution of 1 tablespoon of unscented liquid chlorine bleach per gallon of water. Flood the surface with the premixed solution and allow it to stand for several minutes. Rinse thoroughly with hot water until the board no longer has a slippery feel and air dry or pat dry with paper towels.
Richlite History & Facts
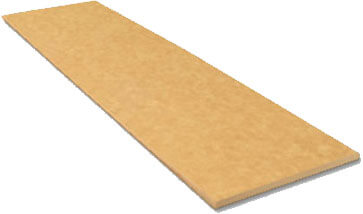
Richlite is commonly found in commercial kitchens and has been used for cutting boards and other food preparation surfaces since the 1960's. Richlite is an extremely popular choice in the commercial food industry due to the surface's sanitary properties and extremely low maintenance requirements. It is made from resin-treated paper, which is then pressed and baked to create a solid and durable sheet. Our Richlite material is made with a blend of post-consumer waste recycled paper or FSC certified components. All non-recycled material used in manufacturing is made from fibers of the rapidly renewable eucalyptus tree. Richlite does not contain urea formaldehyde and Richlite products are GREEN GUARD certified for children and schools. Richlite is an ideal material for cutting boards because of it's incredible durability. Due to it's high impact resistance, gouges, cracks, or grooves from your knives are uncommon. Richlite can also easily withstand most types of acidic foods.
Why should you use Richlite?
- Richlite is the BEST cutting board material available!
- Withstands heat up to 350 degrees, so bring on the pots and pans!
- Attractive finish that resembles wood grain
- Much harder surface than wood
- Scratch Resistant
- Stain Resistant
- Designed to stay beautiful for years
- Solid color all the way through, so if minor scratching does occur there is no difference in color
- Highly Sanitary and NSF Approved
- Impervious surface that keeps bacteria at bay
- Easy to clean and maintain
- No dyes added during manufacturing
Caring for your Richlite Cutting Board
- A quick wipe up with a damp sponge on a regular basis will maintain the beauty of the surface
- Murphy's Oil Soap can also be applied undiluted for regular maintenance
- Howard's Naturals Wood Cleaner and Polish will slightly renew the luster when used regularly
- Alkaline soaps such as regular dish soap will gradually dull the surface
- To remove stubborn stains, use a nonabrasive household cleaner
- Plain yogurt can be used to pull stains from light colored Richlite
- DO NOT use bleach products or abrasive cleaners
PLEASE ADHERE TO ALL OF THE SAFETY WARNINGS AND DIRECTIONS THAT COME WITH ANY OF YOUR POWER TOOLS
Trimming your boards:
*THE CUTTING BOARD COMPANY ASSUMES NO LIABILITY FOR MISCUTS, AND OR DAMAGE TO THE BOARD, YOUR PROPERTY, AND OR ANY BODILY INJURY INCLUDING LOSS OF LIMB AND/OR DEATH FROM THE MACHINING OF YOUR BOARD. THESE DIRECTIONS ARE FOR THE EXPERIENCED TOOL USERS ONLY.
The following instructions are intended ONLY for our Polyethylene Plastic Cutting Boards.
How to drill your cutting board:
How to cut your cutting board:
How to drill your cutting board
Things you'll need:
- A drill
- 1/2" drill bit (this will give some play)
- A clamp
- Marker
- Safety goggles
Steps:
- Put on goggles
- If your old board's holes do not go all the way through the board, use a ½ " drill bit and finish drilling them all the way through the old board.
- Place your new board on a flat surface, with a flat scrap block underneath that you can drill into.
- Place the old board on top of the new board and align, if the new board is larger make sure you align accordingly.
- When you have them aligned, mark both holes(this will help you align after the first hole) use the clamp to clamp them together, as soon as you make a starter hole, you can move the old board out of the way while you finish.
- Align the holes again and repeat for the second hole.
- Sanitize your new board and enjoy.
How to cut your board?
Method 1
Things you need:
- A circular saw with a good carbide tipped blade (smoothest cut)
- A washable marker (do not use PENCIL as it does not come off easily)
- A square or "T"
- A tape measure
- safety goggles
Steps:
- Put on goggles
- Mark your distance using the washable marker, mark in at least 2 spots.
- Using the square, connect the dots as in step 2, measure everything again.
- Follow the line with saw.
- If you want rounded edges, you can use a 1/4" round over self guided carbide tipped router blade.
Method 2: for a straighter cut
Things you need:
- A circular saw with a good carbide tipped blade (smoothest cut)
- A washable marker (do not use PENCIL as it does not come off easily)
- A square or "T"
- Tape measure
- Safety goggles
- A 2x3 or 2x4 that is very straight
- Clamps
Steps:
- Put on goggles
- Mark your distance using the washable marker, mark in at least 2 spots.
- Using the square, connect the dots as in step 2
- Making sure your saw is unplugged, measure the distance from the blade, to the right side of the saw (assuming you have a right handed saw, if you have a left saw then from the left side)
- Mark that measurement from the line you drew in step 3
- Clamp the 2x4 with the edge on that line
- Place your saw along the edge of the 2x4, the blade should line up with your cut line. If not, move the 2x4 until it does.
- Plug in your saw, check the line again, and cut.
- If you want rounded edges, you can use a 1/4" round over self guided carbide tipped router blade.
Method 3: for the straightest cut
Things you need:
- A TABLE saw with a good carbide tipped blade (smoothest cut)
- Safety goggles
Steps:
- Put on goggles
- Adjust your rip fence to the desired cut
- Cut board
Note: There are many commercial products available to use with your saw to make straight cuts. We highly recommend using one for someone not comfortable with the above directions, or for someone making multiple cuts.






 100% Made in the USA


